When you first receive your Trezor device, the setup process may seem a bit daunting, but rest assured, it is straightforward and secure. Trezor is one of the most trusted hardware wallets for securing your cryptocurrency assets. It ensures that your private keys, which are crucial to your security, never leave the device itself. Here’s a step-by-step guide to help you get started with your new Trezor device.
Upon opening the box, you should find the Trezor device itself, a USB cable (depending on your model), a recovery seed card, and some basic documentation. Make sure the device is sealed properly, as this ensures the device hasn’t been tampered with. If anything seems off or damaged, consider returning it immediately for a replacement.
To begin the setup process, connect the Trezor device to your computer using the provided USB cable. For Trezor Model T, the connection will typically be via a USB-C cable, while the Trezor One uses a micro-USB cable. Make sure that the device is securely connected to your computer.
Next, you will need to install the Trezor Bridge software or the Trezor Suite application, depending on the platform you're using. The Trezor Suite is the official desktop software used to manage your device and cryptocurrencies. It works with Windows, macOS, and Linux. You can download the software directly from the Trezor website.
Alternatively, if you prefer using a web interface, you can set up your device via Trezor Web. When you visit the official Trezor website (trezor.io), it will automatically prompt you to install the necessary drivers and software.
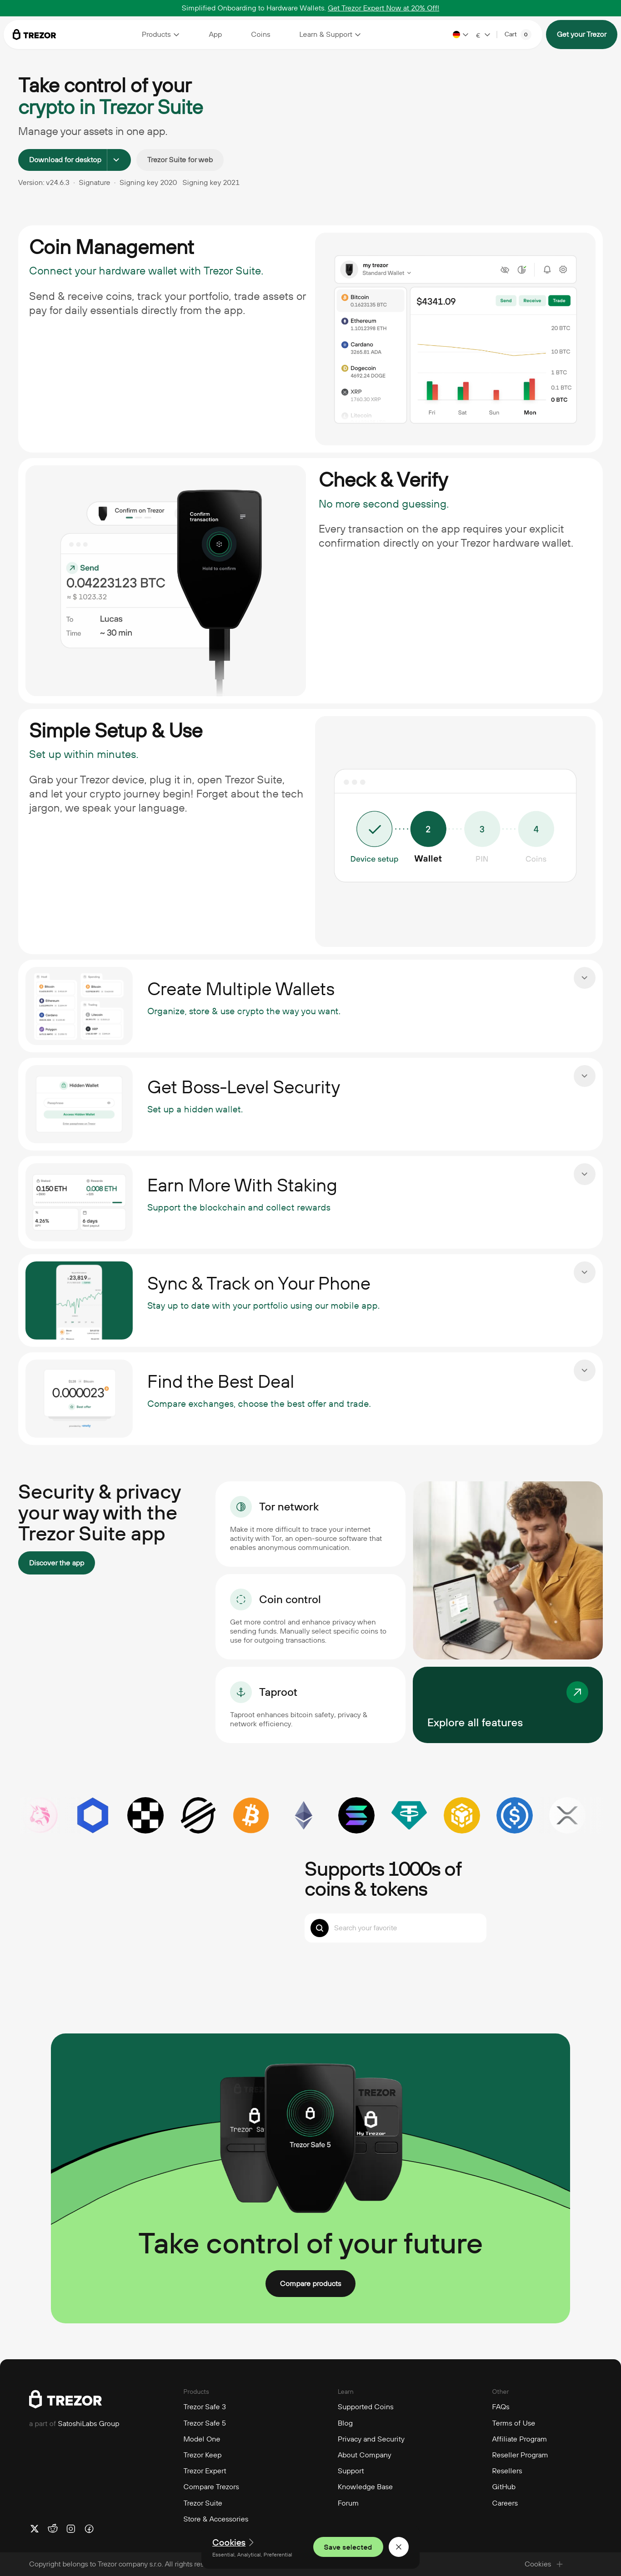
Once the Trezor Suite is installed and running, open it up and follow the on-screen instructions. When you first connect your Trezor device, it will prompt you to initialize it. This is where you will set up your PIN and recovery seed.
After you’ve written down your recovery seed, Trezor will ask you to confirm it by entering the words back into the device. This step ensures that you’ve correctly noted your seed. If you fail to do so, you might risk losing access to your funds. Once the backup is complete, the device will display a message confirming that the setup is complete.
It is essential to keep your Trezor device’s firmware up to date. During the initial setup, Trezor may prompt you to install the latest firmware version. Firmware updates often include security improvements, bug fixes, and new features, so keeping your device updated is crucial for maintaining security.
After successfully setting up your device, you can start managing your cryptocurrency holdings. Trezor supports a wide range of cryptocurrencies, including Bitcoin, Ethereum, and various altcoins. To add your cryptocurrencies, simply navigate to the relevant section in Trezor Suite, where you can generate addresses to receive funds.
Once your Trezor device is set up and your cryptocurrencies are loaded onto your wallet, you can begin sending and receiving digital assets. For receiving cryptocurrency, click the "Receive" tab in Trezor Suite, and it will display an address. You can then share this address with anyone who wishes to send you cryptocurrency.
To send funds, you simply need to click the "Send" tab, enter the recipient’s address and the amount you wish to send, and confirm the transaction on your Trezor device. The device will ask for your PIN and require your physical confirmation to approve the transaction. This process ensures that no one can make transactions without your authorization, even if they gain access to your computer.
While Trezor devices offer excellent security features, it’s still important to follow best practices to safeguard your cryptocurrencies:
Though Trezor devices are built to last, it’s a good idea to regularly back up your device and recovery seed, especially if you change or update your device. Backups ensure that you can quickly restore access to your cryptocurrencies if something goes wrong.
The Trezor device offers a simple, secure, and reliable way to store your cryptocurrencies. By following the setup steps and taking the necessary precautions, you’ll have full control over your digital assets, protected from hackers and potential hardware failures. Whether you’re new to cryptocurrencies or a seasoned user, Trezor’s user-friendly interface and robust security features make it an ideal choice for safeguarding your crypto investments.